A 5-Year Retrospective
Warning: The following contains dark, macabre, and unsettling material set within the gothic horror world of Barovia.
If you are a player, do not read further.
With the recent five-year anniversary and the updated release of Count’s Manor, I wanted to take a moment to share some background and history on how it came together.
The adventure is available for free, with links provided at the end of this post.
Back in 2021, when I first ventured down the rabbit hole of adventure writing with Legends of Barovia, my very first project was Count’s Manor.
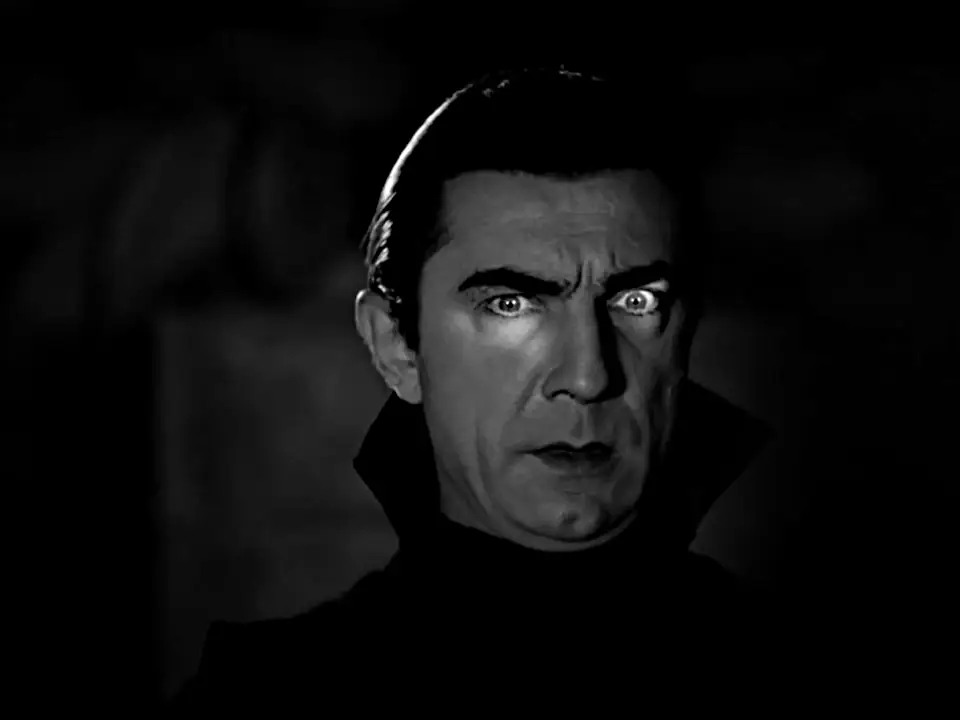
It began as a tribute to Bela Lugosi, whose portrayal of Dracula in the 1931 film helped define gothic horror in cinema for generations. The oppressive atmosphere and dread, became the foundation for this adventure.
Rethinking Death House
In the appendix of Curse of Strahd is an adventure known as Death House, designed for characters of levels 1–3.
Death House was originally released in 2016 as a free introductory PDF alongside the launch of Curse of Strahd. It was intended as an optional adventure to advance characters from level 1 to level 3 and to introduce players to the tone and setting of the campaign.
Functionally, it does exactly what it sets out to do.
But I wanted something more.
While effective, Death House always felt slightly disjointed to me, a strong gothic experience, but one that exists somewhat apart from the broader story of Barovia. I wanted an introductory adventure that didn’t just prepare characters mechanically, but one that:
- Weaves Barovian lore in from the very beginning
- Seeds future storylines
- Introduces Strahd as a distant, looming presence
- Puts the players on edge immediately
That design goal became the foundation for Count’s Manor.
Count’s Manor stays true to the manor map from Curse of Strahd, but the real transformation happens beneath it, in the crypts and the lair below.
I designed it to function either as a standalone one-shot (levels 1–3) or as the opening chapter of Legends of Barovia, an expanded campaign for Curse of Strahd.
The Manor’s Place in Barovia
The first question: where is this manor and who is the count?
I placed Count’s Manor just inside the Eastern Gates of Barovia. In the Legends of Barovia opening, the characters arrive already in trouble, their weapons stolen, soaked from the rain, cold, disoriented, and trapped. With nowhere else to turn, the manor becomes shelter… or so it seems.
Weapons can be recovered later (sold to Bildrath in the Village of Barovia), but the goal is clear: The players begin on the back foot, figuratively and literally, the moment they step through the gates of Barovia.
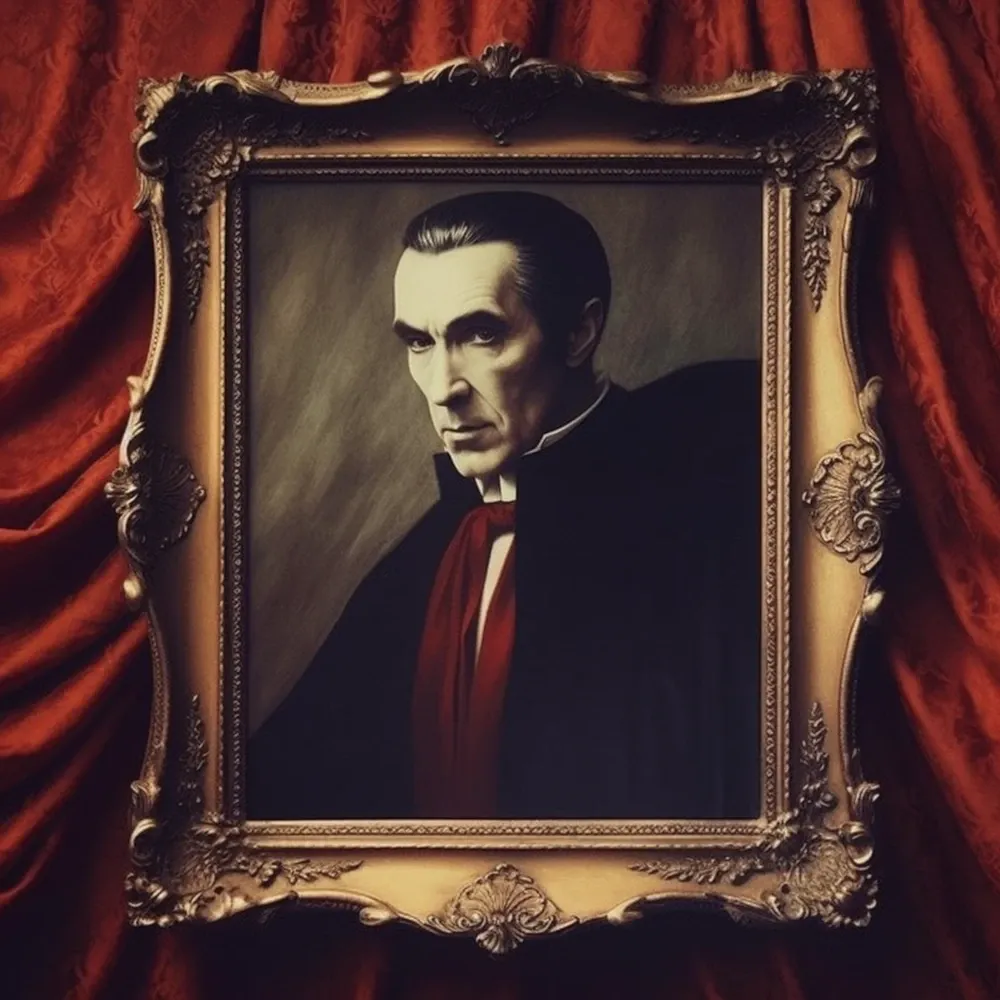
Count Lugosi
Count Lugosi is not a misunderstood recluse.
He is a tragic failure.
History
Count Lugosi was once a trusted servant of Lord Strahd von Zarovich, born into an old noble Barovian family. He traveled frequently between his estate and the villages of Krezk and Vallaki, acting as Strahd’s intermediary with local burgomasters.
Over time, the count learned too much.
He uncovered fragments of Strahd’s secrets, his dark powers, his immortality, and whispers of relics hidden within Castle Ravenloft. Ambition took root. Seeking to restore his family’s honor and carve out power of his own.
In the crypts beneath his manor, Count Lugosi conducted dark experiments on kidnapped Barovians. The results were horrific, cannibalistic monstrosities. Rumors spread. Graves were robbed. Something stalked the estate.
Strahd noticed.
In his cruelty, Strahd chose not to destroy the count, but to punish him. Slowly and deliberately, Strahd turned Lugosi into a vampire, feeding on him and weakening him over time.
Desperate, the count summoned his old friend, Doctor Seward of Vallaki, to help him flee with his family. He was too late.
The transformation completed. Lugosi turned his son. Dr. Seward was fed upon and later took his own life. The manor fell silent. Lugosi was consumed by his own lust for power and in so doing, destroyed his family and everyone he loved.
Now the estate is haunted by the ghosts of the count’s family. Lugosi himself rarely enters the manor, it brings him unbearable sorrow. Instead, he hides in the crypts below, descending further into madness.
Exploring the Manor
The manor tells this story room by room.
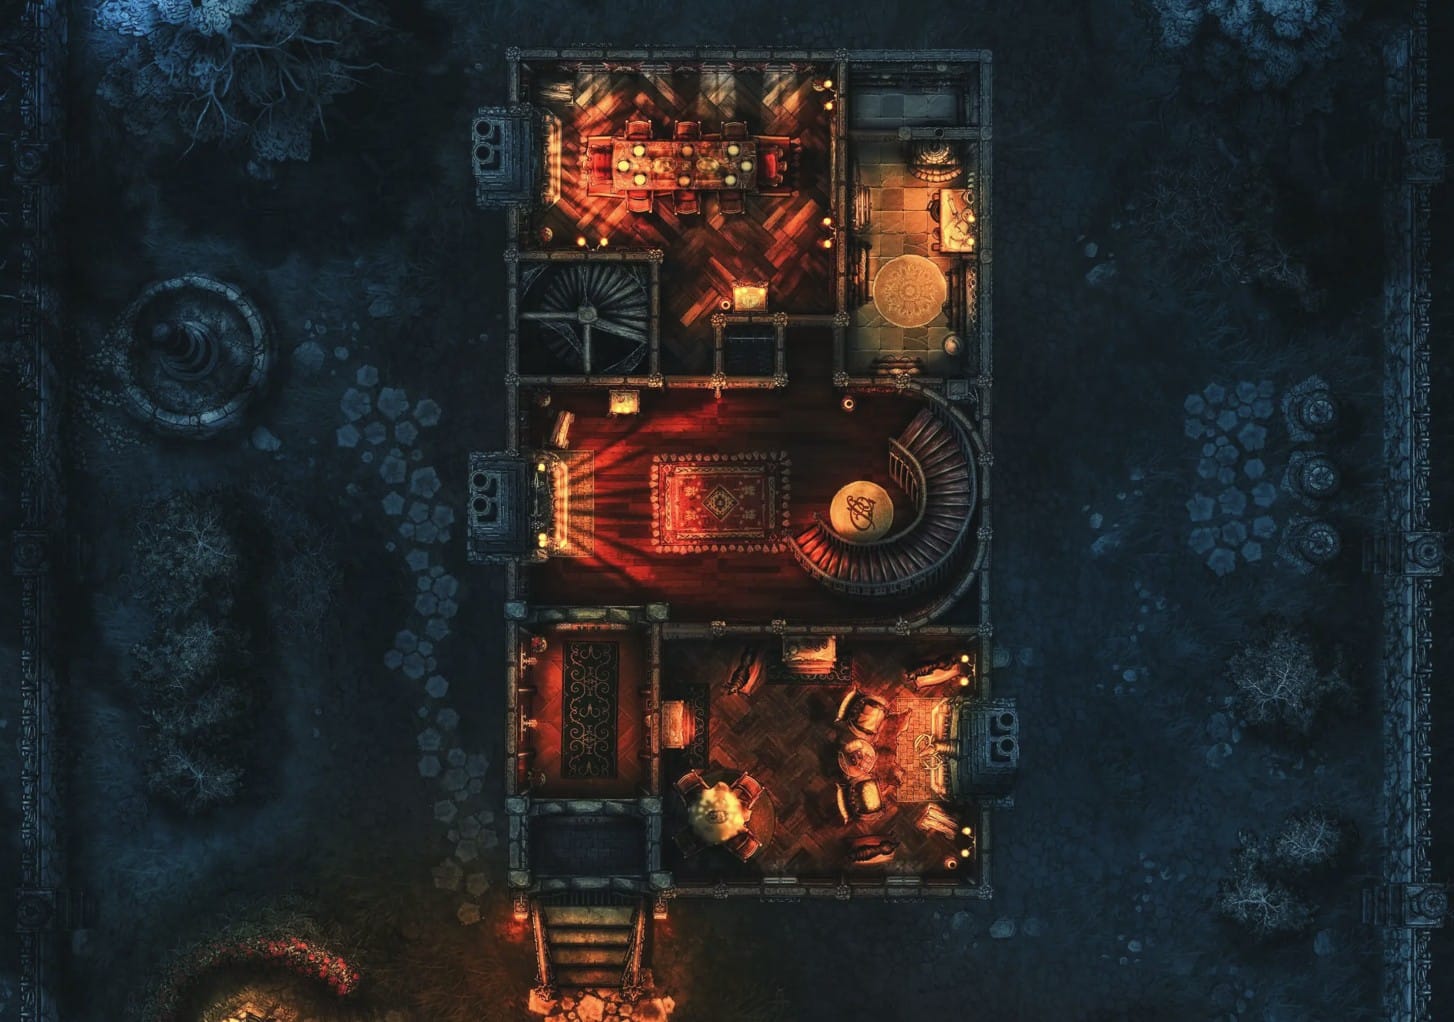
First Floor — Unease
The first floor sets the tone. Weapons and useful items can be found, but there are no encounters.
The goal is simple: build tension.
Second Floor — Revelation
The second floor begins to peel back Barovia’s history. Players uncover:
- A secret room
- Their first NPC
Mystery and dread begin to take hold.
Here the party discover the Wolf Helm, a cursed item designed to introduce chaos and consequence early.
Player Handouts
Three handouts deepen the narrative:
- A concerned letter from Dr. Seward, planning to visit the count
- A hidden warning from Strahd to the count
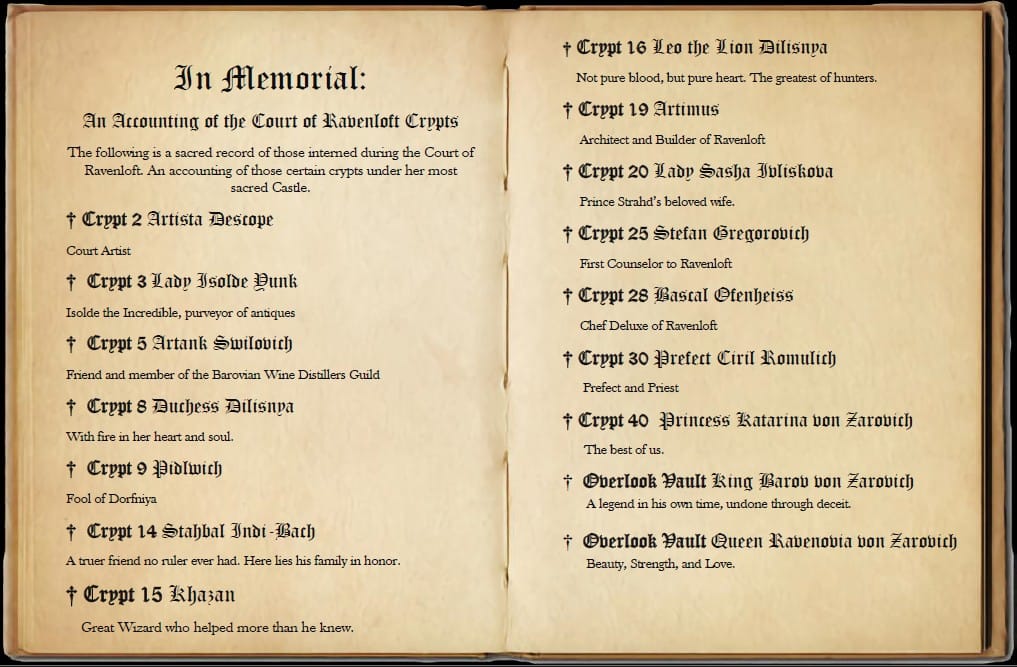
- The Court of Ravenloft, a book foreshadowing who lies buried beneath Castle Ravenloft
The players also meet a frightened dog who follows them thereafter. In an otherwise grim adventure, Stoker provides a small spark of warmth and a subtle nod to gothic horror fans, named in honor of Bram Stoker.
Third Floor — Danger
The third floor is the real peril. Here the characters face:
- Their first combat encounter (animated armor)
- An unsettling yet friendly NPC: the ghost of the nursemaid, Margert
- Further insight into the count’s relationship with Lord Strahd von Zarovich
Another letter is found, this one from Elizabeth Lugosi to Strahd, thanking him for his help with her husband’s condition. She does not realize the truth: the topaz necklace Strahd gifted her is cursed, allowing him to scry upon the wearer.
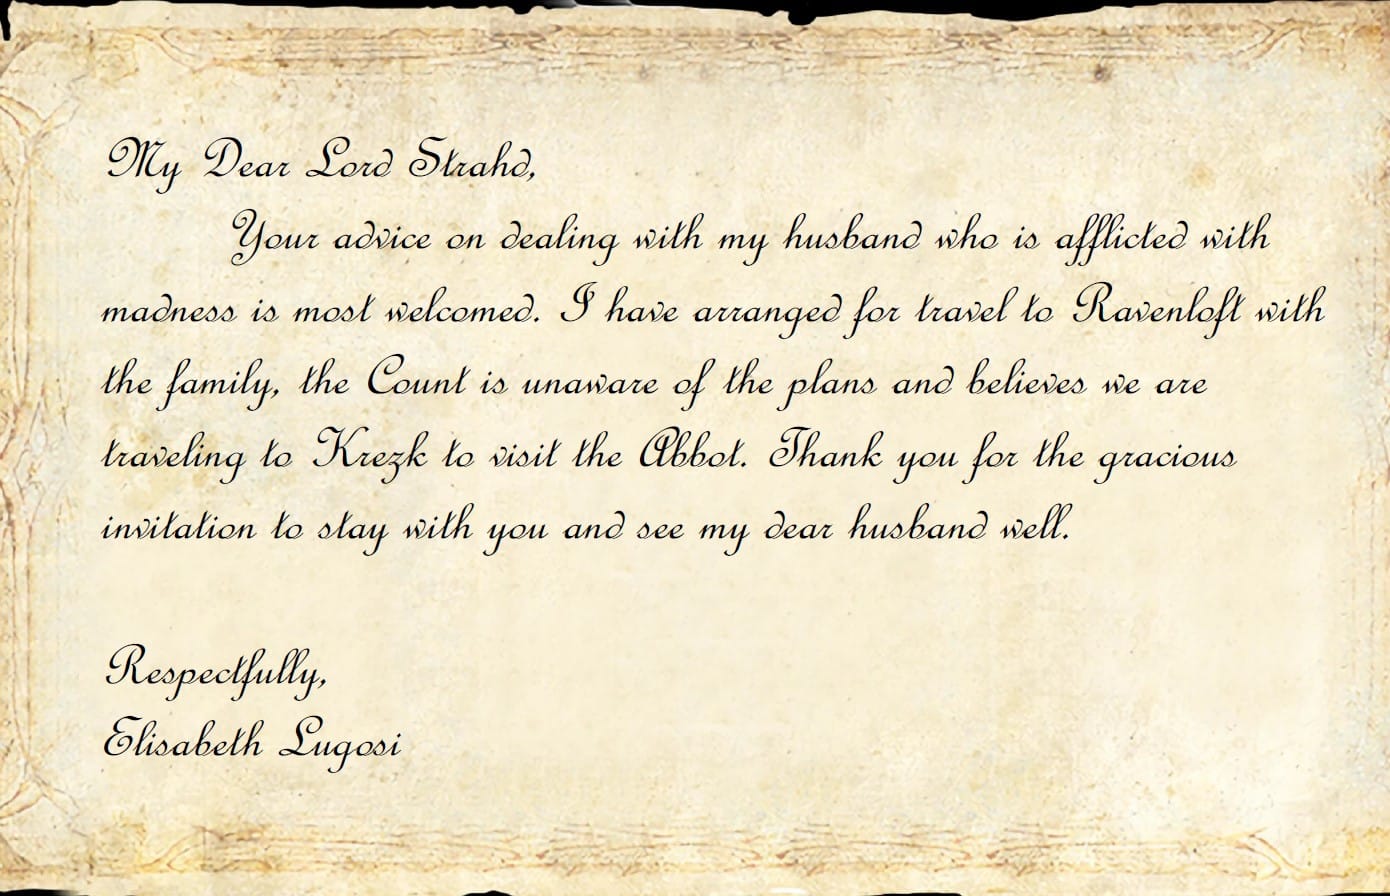
If the players don it, Strahd knows they are in Barovia.
The party encounters the ghost of the nursemaid, Margert. An unsettling presence accompanied by the skeletal remains of a baby. She vanishes behind a secret door, drawing the party upward…
The Attic
The attic holds the truth and the danger escalates sharply.
The party faces several grim encounters:
- Dr. Seward, now a hanging zombie, suicide note still in his pocket
- A letter from the count, offering gold to Margert to flee with his infant daughter, Bella, though the players have learned it was already too late
- The nursemaid’s horrid remains hidden in a trunk, disturbing them may awaken her fury
Behind a locked iron door lies the darkest revelation.
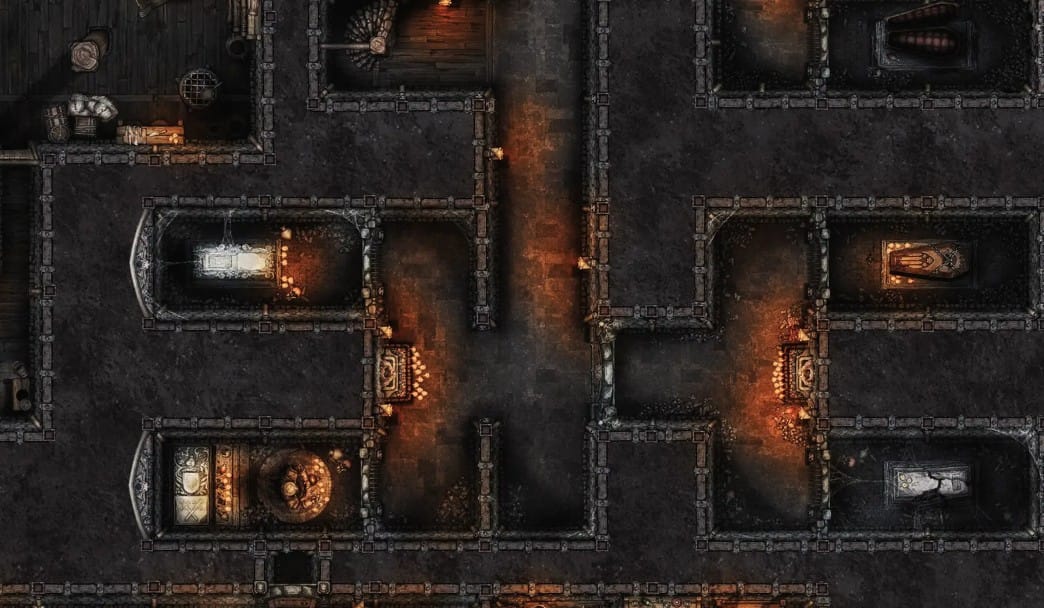
The count’s young son, Boris, has become a vampire, imprisoned in his childhood room, a quiet nod to classic horror and Boris Karloff.
If the party survives the attic, a heavy steel door opens to a winding stair below.
The gloom gives way to darkness.
The manor ends.
The crypts begin.
The Crypt
By the time the party enters the crypts, they should be level 2.
The crypt is divided into several distinct locations, each revealing another layer of Lugosi’s descent.
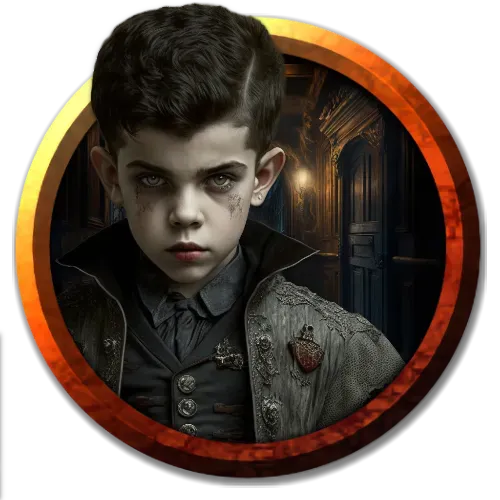
The Tombs
The main crypt chamber contains six tombs, each with its own encounter. One features a puzzle that grants a meaningful reward if solved. Another reveals the Lugosi family’s past as knights who fought in a great war.
The Servant’s Stores & Igor
Nearby, the party discovers preserved food stores and meets Igor, a mongrelfolk who serves Count Lugosi. Igor is not hostile, merely terrified. He keeps the manor above as it once was, clinging to routine out of fear.
Through Igor, the players learn:
- That his master has changed
- That darker secrets lie below
- More about the mongrelfolk of Barovia
Igor knows more than he wishes he did.
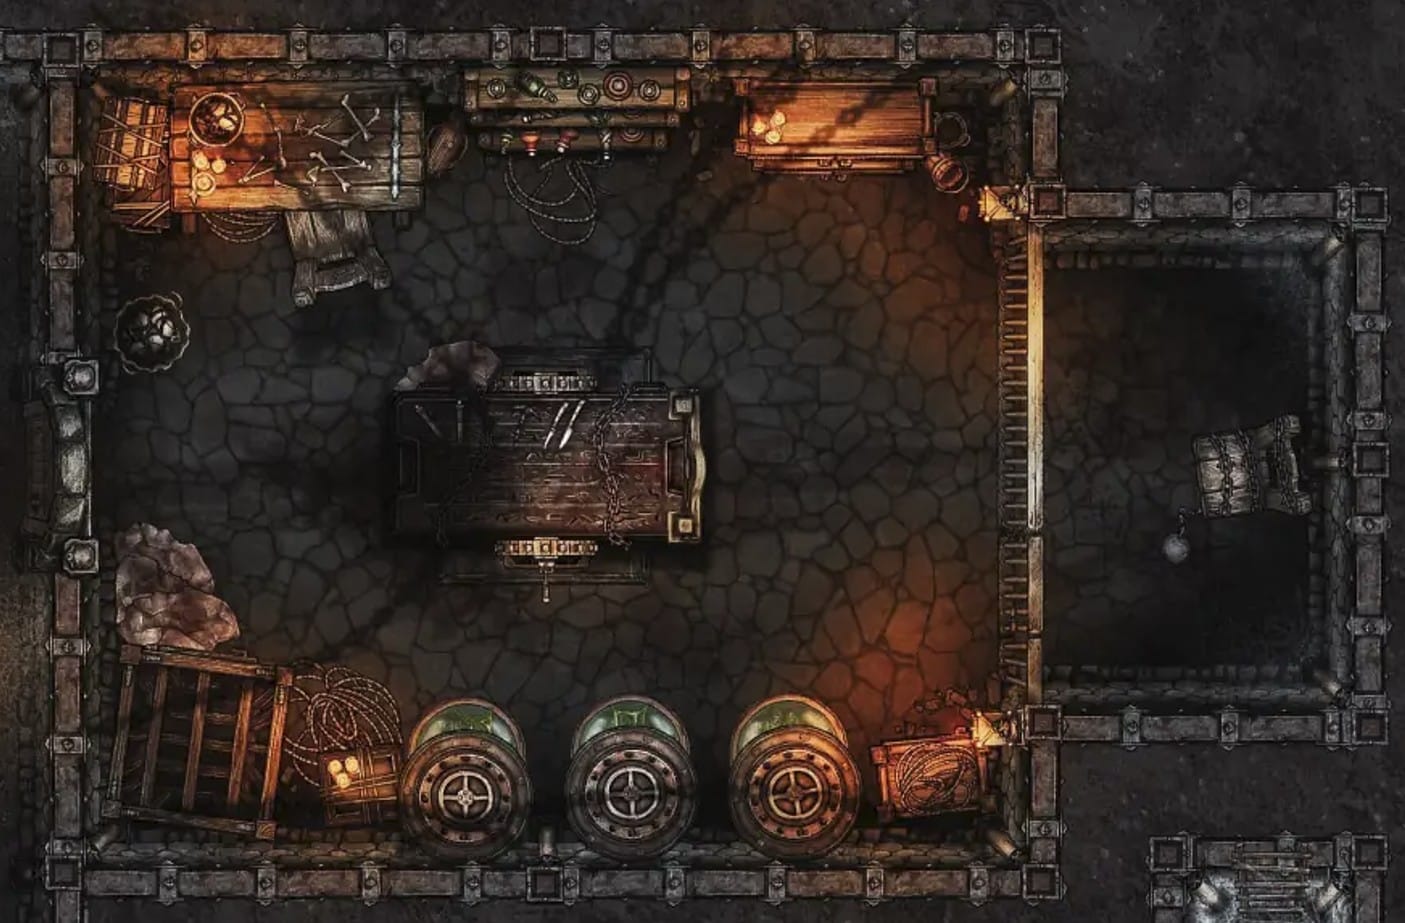
The Fighting Pit
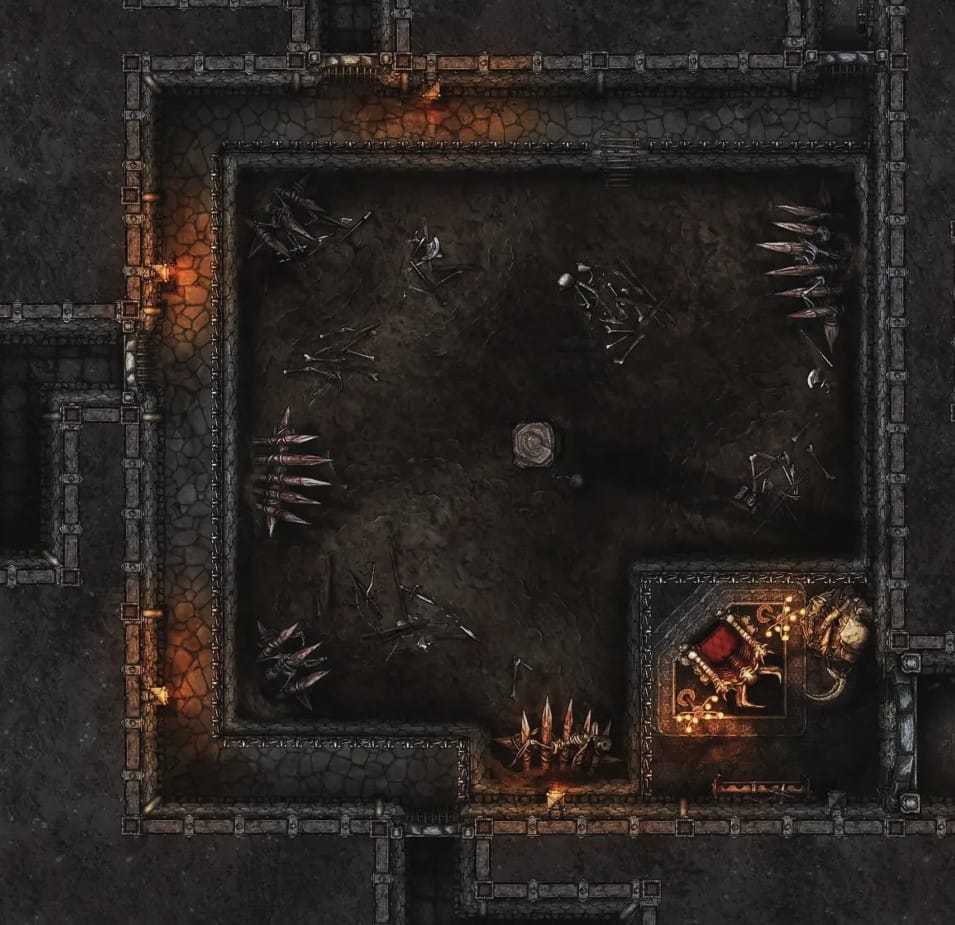
One of the most disturbing chambers is the fighting pit, the site of Lugosi’s earliest experiments.
Here he imprisoned cursed cannibals: kidnapped Barovians twisted through dark rituals. The count unleashes them against prisoners… and even the undead.
This space is meant to feel cruel and senseless violence as experimentation.
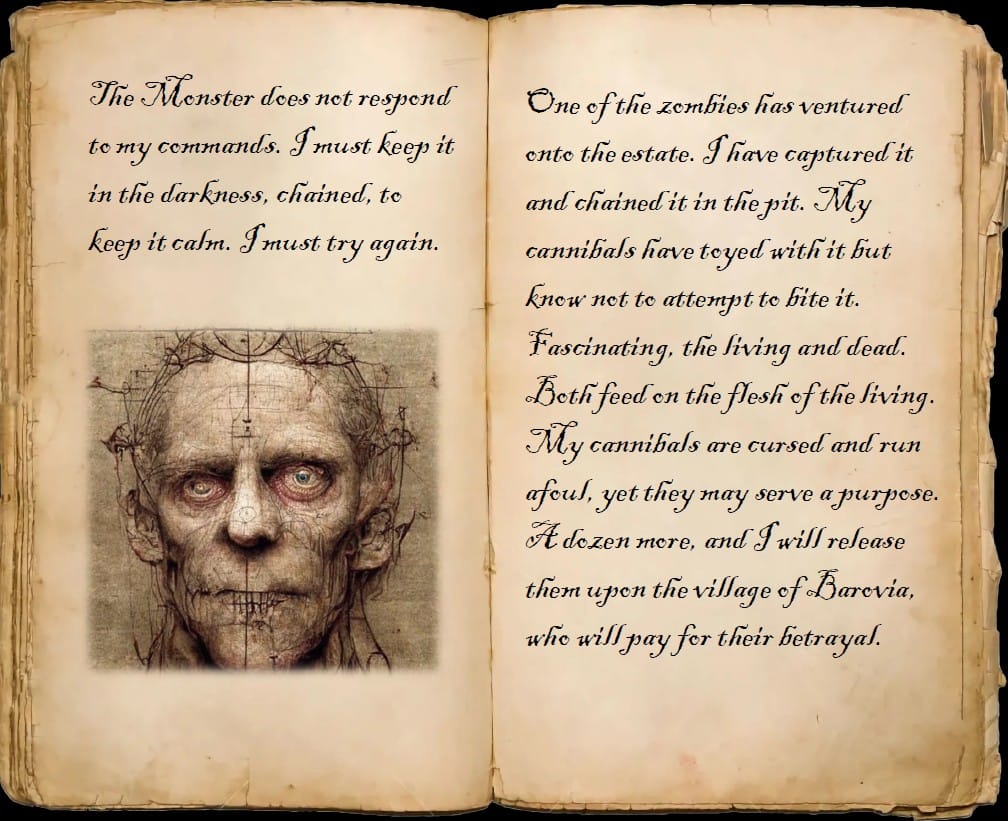
The Experiment Chamber
Nearby lies the torture and experimentation room. Cursed cannibals were created here, but they are not the true horror.
That honor belongs to the Monster.
Inspired by the Frankenstein myth, the Monster is slow but relentless. Bound by a massive chain, if it breaks free, it will hunt and slaughter anything in its path.
The Dark Ritual Room
This chamber functions as both trap and puzzle.
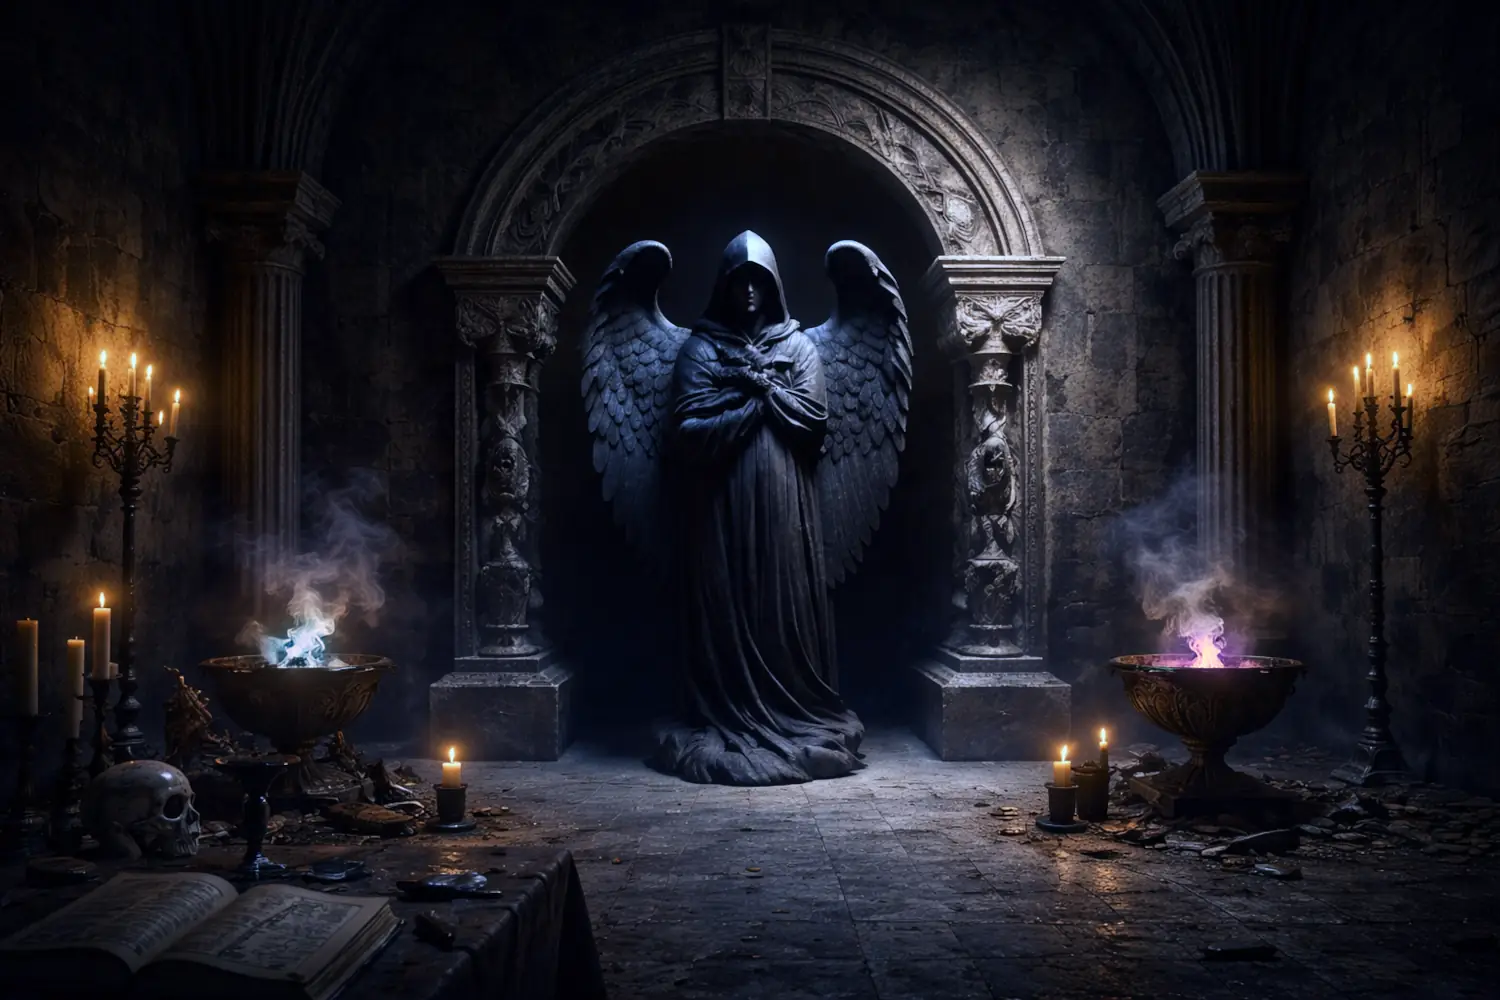
At its center stands a statue of darkness and death. Bloodstained markings cover the floor, and a corpse lies nearby, evidence of a ritual sacrifice. Whether the count sought communion with darker spirits, pursued his own ghastly undead experiments, or something else entirely remains unclear.
Failing the puzzle fills the room with thick smoke, slowly putting the party to sleep.
The Count’s Study
Those who survive reach the count’s study. Here they find his journal, detailing:
- His wife’s transformation into a ghoul he secretly feeds
- His frustration with failed experiments
- A young maid now imprisoned in the dungeon
A hidden door reveals the treasure room and the count’s undead wife, still clinging to fragments of memory. Mercy would be misplaced.
Descent to the Lair
Surviving the crypts should bring the party to level 3.
Below them lies the most dangerous place of all: the lair where Count Lugosi no longer hides from what he has become.
The Hall of the Dead
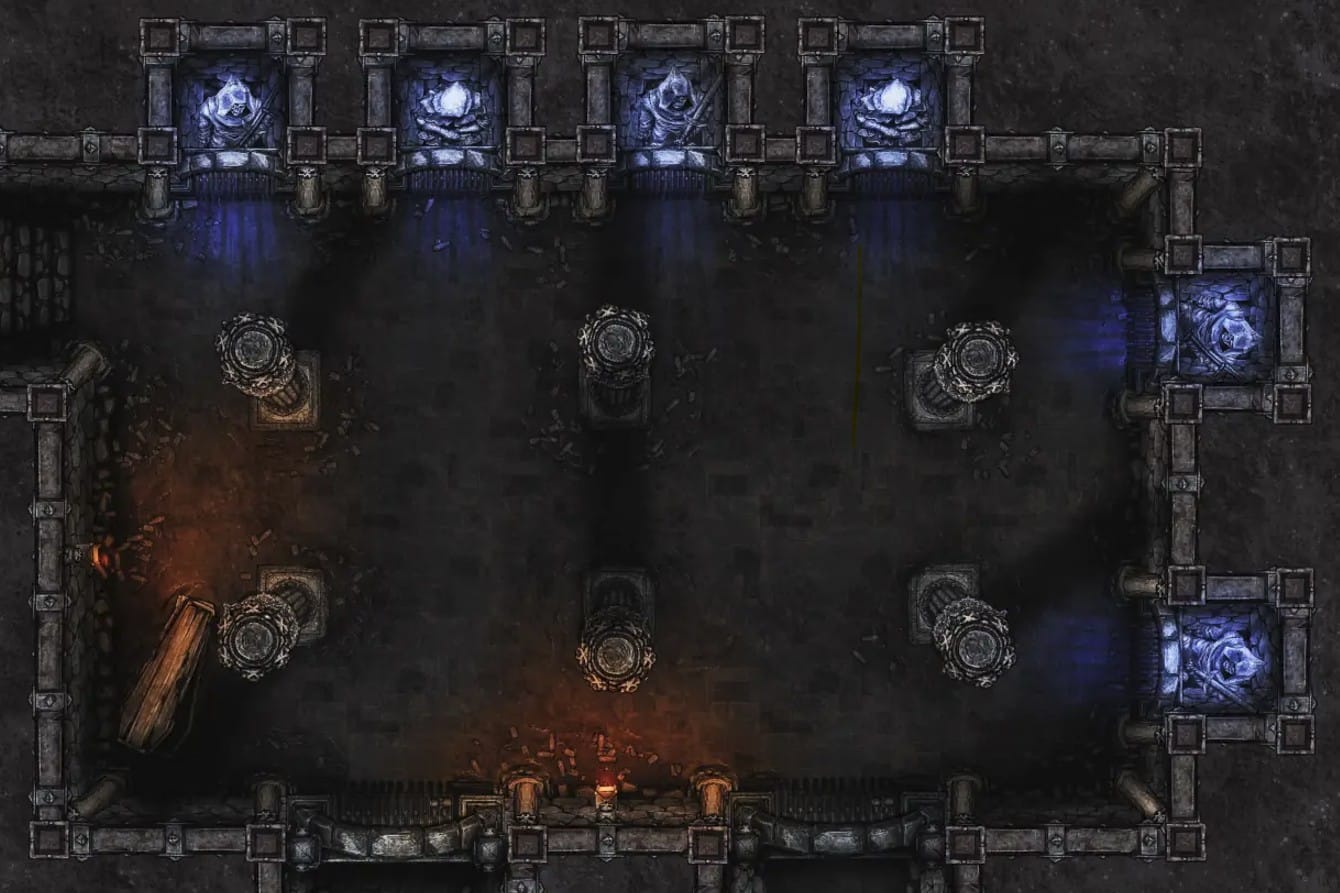
The cold of death fills the vast hall. A numbing chill radiates from statues lining the north and east walls, each standing behind iron bars and radiate a faint dark blue glow.
Dark Souls
If the characters open the gate leading into the count’s private lair, the dark souls bound to the statues awaken and attack the party.
The Dungeon Cells
Beyond the Hall of the Dead lies the dungeon.

Several cells line the corridor, some empty, others concealing hidden encounters. If the party failed the puzzle in the Dark Ritual Room and fell asleep, they awaken here, locked inside the cells and forced to escape from within.
Willa, the Servant Girl
In one cell, a young girl is chained to the wall, crying softly. As soon as she sees someone, she pleads for help.
Her name is Willa. She is from the village of Barovia and took a job as a servant for Count Lugosi’s family, but she does not remember what happened after she arrived.
Characters who examine her notice two puncture wounds on her neck. If Count Lugosi feeds on her one more time, she will become a vampire.
Willa is weak and terrified.
The Count’s Lair
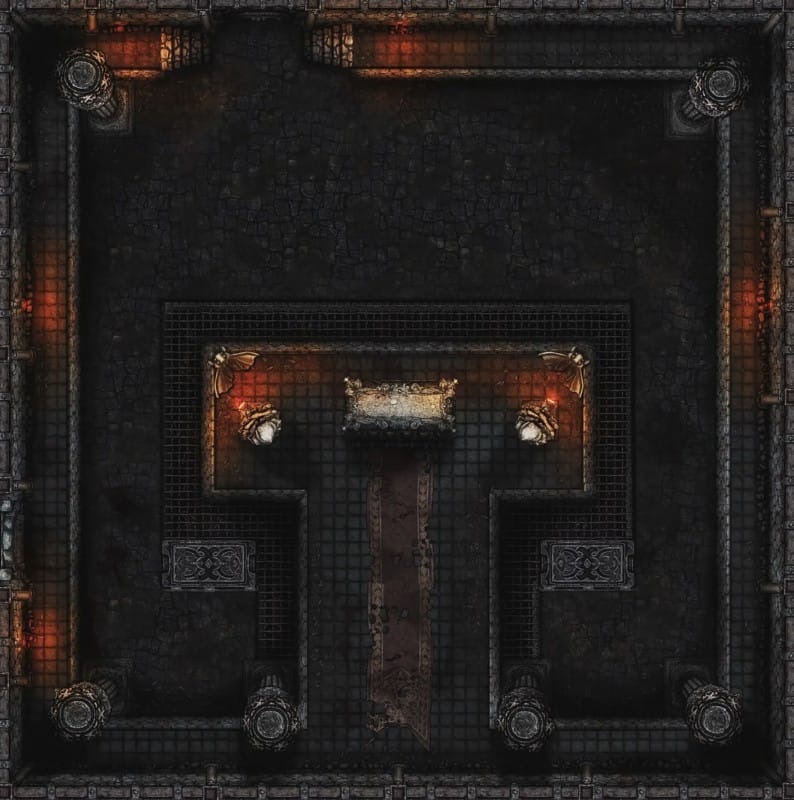
The underground chamber, vast, oppressive, and unnaturally still. Massive stone pillars rise from the floor and vanish into darkness fifty feet above. The air is damp and cold.
A narrow stone walkway rises ten feet above the floor, circling the chamber’s edge. From the southern wall, it stretches toward a small stone island at the chamber’s center. Resting atop it is a massive stone sarcophagus.
An iron floor grate encircles the island like a moat. From the iron floor grate comes a slow, rhythmic dripping.
It is blood.
The stone island is slick with it, draining steadily through the grate below, as though the chamber itself were designed for slaughter.
Count Lugosi’s Arrival
When his lair is invaded, Count Lugosi arrives in either mist form or bat form, beginning the final conflict.

He is a man of few words, but taunts his prey during battle. Count Lugosi fights intelligently, seeking to isolate and destroy the weakest party member first. He will fight to the death.
If Count Lugosi is slain, his body crumbles to ash, leaving only his clothing behind. and his treasured possessions.
Conclusion
With Count Lugosi defeated, the immediate danger has passed.
This is a rare moment of safety, a chance for the party to rest, reflect, and take a long rest before facing the wider horrors of Barovia.
Leaving the Manor
As the characters emerge from the manor, a dark carriage pulls up before the gates.
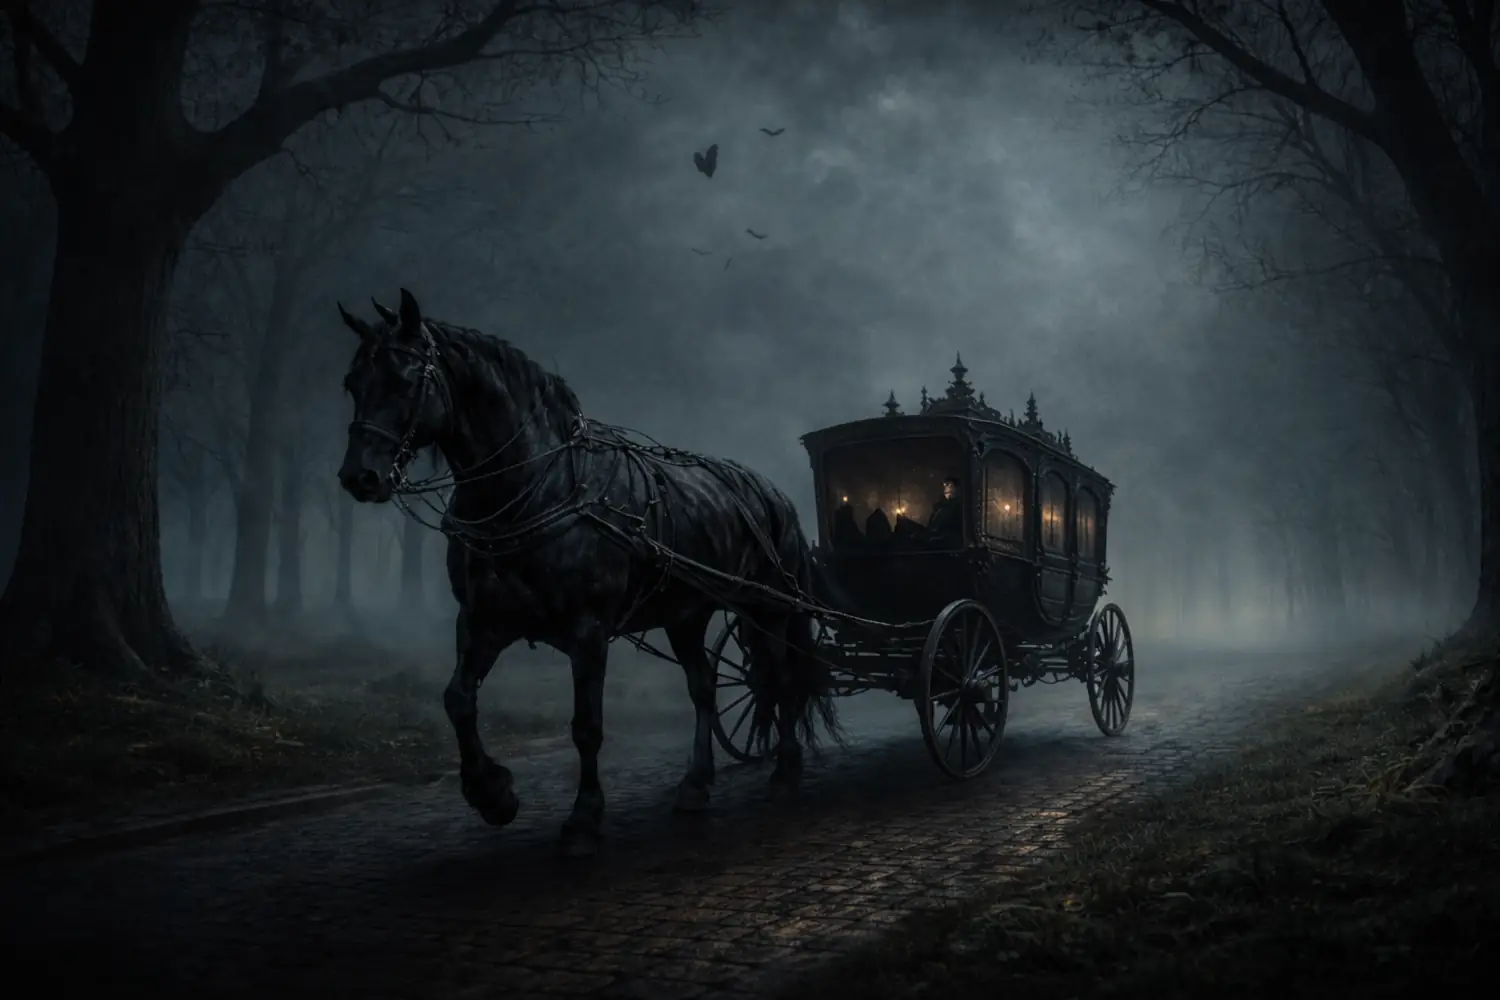
The gentleman inside introduces himself as Rahadin. He explains that he had an appointment with Count Lugosi and had come to collect him for the count’s scheduled visits to Vallaki and Krezk to meet the burgomasters. If told the count is dead or revealed to be a vampire, Rahadin is visibly shaken and mournful at the fate of the family.
He offers the party a ride to the Village of Barovia and recommends they stay at the Blood of the Vine tavern. As payment, he asks them to deliver a sealed letter to the village’s burgomaster.
And so begins Legends of Barovia.
The party arrives in the village at level 3, having survived Count’s Manor and learned just enough about Barovia to understand how truly dangerous it is.
Count’s Manor
5th Anniversary Edition
This 5th Anniversary Edition brings a full update to the Count’s Manor, with improvements across journals, maps, lighting, and enhanced support for Foundry VTT v13 features.
What’s New
- Updated PDF Guide
- Updated Digital Asset Pack
- New Theater of the Mind scenes (16:9 ratio)
- DM Andy Battle Maps 2.0
- New Foundry v13 enhancements, including improved journals, lighting, and workflow features
As always, this update focuses on clarity at the table, smoother flow during play, and a more immersive Barovian atmosphere.

Foundry VTT v13 available in two versions: 5e & System-agnostic, usable with any TTRPG system (such as Shadowdark, Pathfinder 2e, and more)
Availability
Count’s Manor is available for free and includes:
- Free PDF Guide
- Digital Asset Pack
(battle maps, tokens, sound files, and more — ideal for Owlbear Rodeo, Roll20, or Discord) - Foundry Adventure Module
The adventure can be used as a level 1–3 one-shot or as an introduction to Barovia.
You can find a full list of free PDF guides for Legends of Barovia, an expanded Curse of Strahd campaign.
Special Acknowledgements
This project would not have been possible without the help and support of the following collaborators:
- DM Andy — Battle maps
- Jesse Winter — Editing and stat blocks
- Tixu — Tokens
- Blair — Foundry wizardry
And a special thank you to my supporters, whose encouragement over the last five years has helped make Count’s Manor and Legends of Barovia possible.